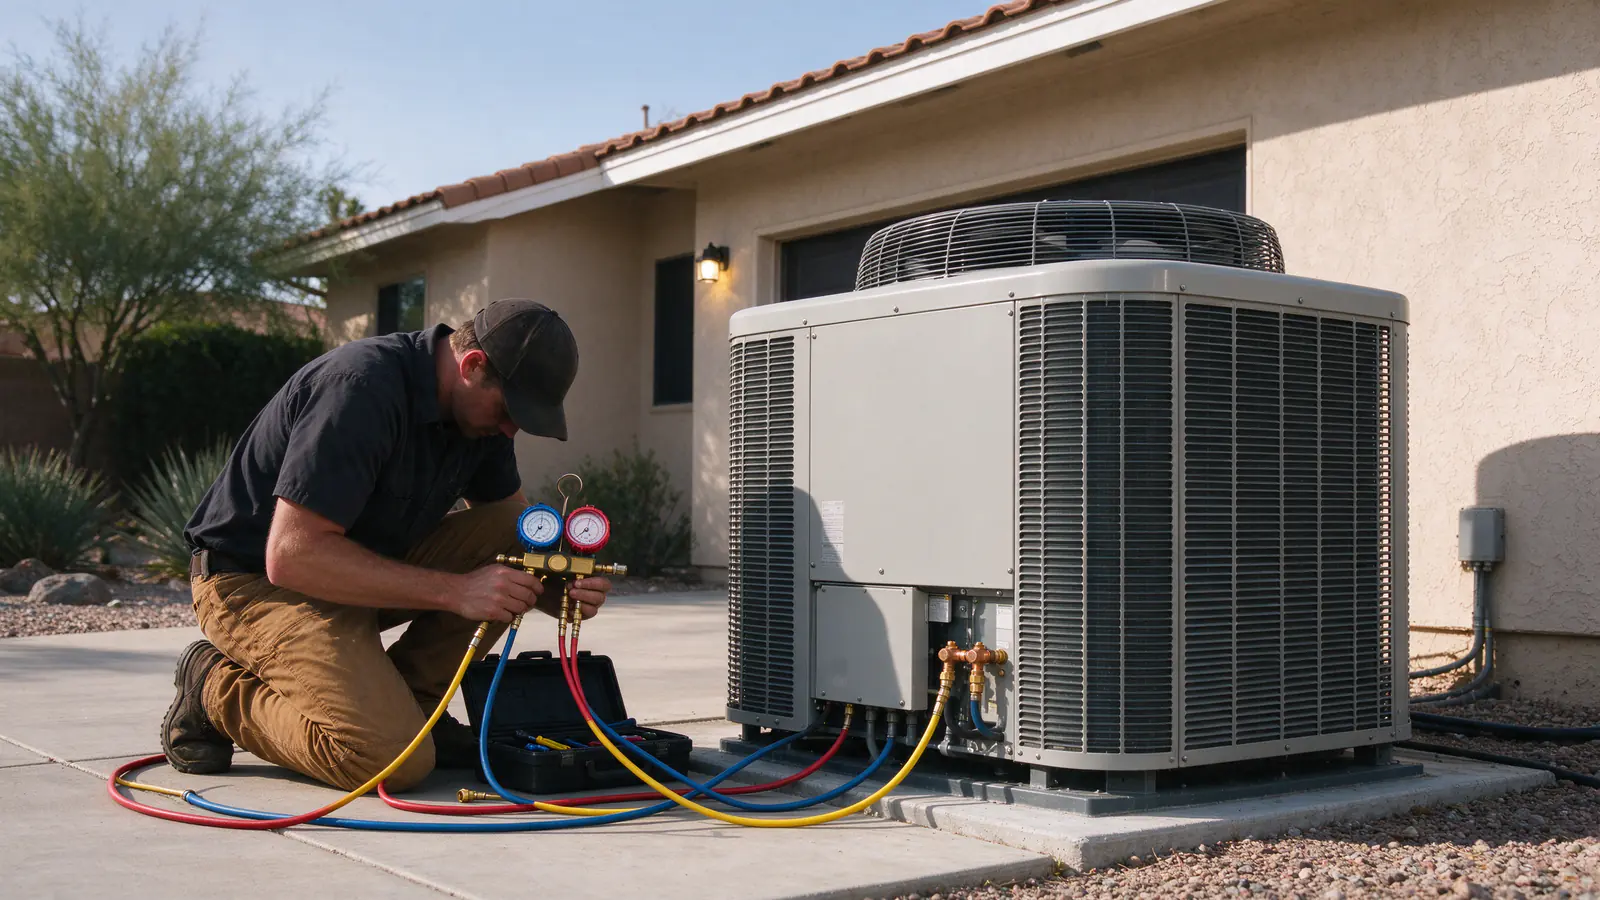
Why does a new system need to be checked at all?
Because half of it is built at your house. The refrigerant lines, electrical connections, ducts and controls all go together on site, and a small miss there means a short-lived compressor, a room that never cools or a drain that overflows in August.
At Veranda Bakersfield Heat Pumps, commissioning is how we prove the system was put together right. It is the last step of every heat pump installation and replacement, and it runs in a set order because each check depends on the one before it.
The startup sequence, step by step
1. Confirm the equipment pairing
Before anything runs, we check that the outdoor unit, indoor coil or air handler and the thermostat are the combination the manufacturer lists together. A mismatched pair can run, but it will not deliver the capacity or efficiency on the label. Our equipment matching guide explains why.
2. Pressure test the refrigerant lines
The copper line set between the indoor and outdoor units is brazed or connected at both ends. We fill it with dry nitrogen under pressure and watch the gauge. If the pressure holds, the joints are tight. If it drops, we find the leak now, while the lines are still easy to reach.
3. Pull a deep vacuum
Next we connect a vacuum pump and a micron gauge and pull the lines and indoor coil into a deep vacuum. That removes air and boils off moisture. We then close off the pump and watch the reading. A vacuum that holds steady tells us the system is dry and sealed.
4. Open the system and set the charge
Only then do we open the service valves and release the factory charge. Long or short line sets need the charge adjusted. We confirm it using the method the manufacturer specifies for the equipment and conditions, reading pressures and temperatures rather than guessing.
5. Check electrical and safety controls
We confirm the voltage at the outdoor unit and air handler, check the disconnect and breaker sizes against the equipment, tighten connections, and test the safety switches. The electrical requirements guide covers what the circuit needs.
6. Measure airflow and static pressure
A vent that blows cold air does not mean the system is moving the right amount of air. We measure the static pressure across the system and set the blower speed so airflow matches the equipment.
In Bakersfield attics, where ducts sit in summer heat well above 100 degrees, an airflow problem shows up fast as rooms that never cool. Read more in ductwork and airflow.
7. Run every mode
We run cooling, heating and the fan, and force a defrost cycle to watch the reversing valve switch and the backup heat stage on. We check the temperature change across the indoor coil in each mode.
8. Test the condensate drain
In cooling, the indoor coil pulls water out of the air. We pour water into the drain pan, confirm it flows to its outlet, and check the safety float switch shuts the system off if the drain backs up. Outdoor placement and drainage are covered in placement, sound and condensate.
9. Set the thermostat
We set the thermostat for the equipment type, backup heat staging and lockout, then walk you through the everyday settings.
What readings do you get at the end?
We hand you the startup readings in writing. They usually include:
| Reading | What it tells you |
|---|---|
| Line set pressure test and vacuum hold | The refrigerant circuit is sealed and dry |
| Refrigerant pressures and temperatures | The charge matches the manufacturer’s method |
| Static pressure and blower setting | The ducts and blower are moving the right air |
| Temperature change across the coil | The system is heating and cooling as it is built to |
| Voltage and current at the units | The electrical supply is right for the equipment |
| Thermostat and backup heat settings | How the controls are set, for later reference |
Keep this sheet with the model numbers and paperwork. If you call us later about comfort or noise, these numbers give us a starting point.
How does the permit inspection fit in?
The inspection comes after startup, when the inspector can see the finished work. We pull the permit your address requires, and the permit and inspection are a line in your written estimate.
Our permits guide explains how the address decides which office handles it.
What a typical install day looks like
A straight replacement can take one day on site, with commissioning as the last few hours. Jobs that add duct work take longer, and the airflow gets measured again once the new ducts are in.
| Job | What we did | Time on site | Price |
|---|---|---|---|
| Rosedale ranch, 1,700 sq ft, single story | 3-ton system, one crushed supply run to the west bedrooms | One day | $11,000 |
| Shafter replacement | Added a second return, then measured airflow again | Two days | $14,200 |
On the Rosedale job, commissioning came last: pressure test, vacuum, charge, airflow and a full run in every mode before we packed up. Veranda’s typical range for a like-for-like ducted heat pump replacement is $6,500 to $15,500, set by the site visit and written estimate.
Ready to start? Request an estimate and we will set up the site visit, or use the system readiness tool to see where your house stands first.